
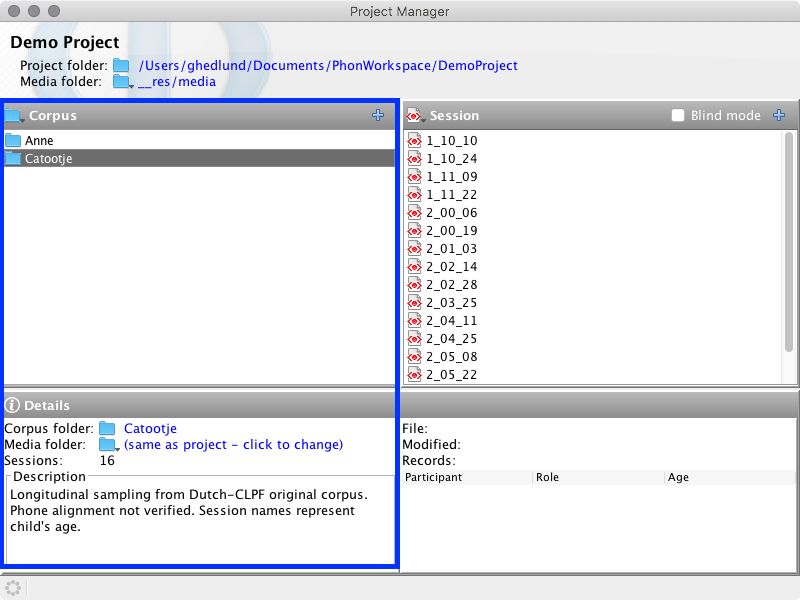
Corpus List
Within a project, individual transcripts (or sessions) are organized into a series of one or more corpora.
Each corpus typically contains a series of sessions relating to one specific participant in a study. The corpus may contain as many sessions as desired for that participant, spanning any length of time. This allows the user to easily search all transcripts relating to one participant, by searching within the relevant corpus.
When a corpus is selected the corpus folder and media folder for the corpus are displayed with as links below the corpus list. Clickin these links will open the respective folders in Finder (macOS) or Explorer (windows). The number of sessions and a description of that corpus is also displayed.
Corpus Actions
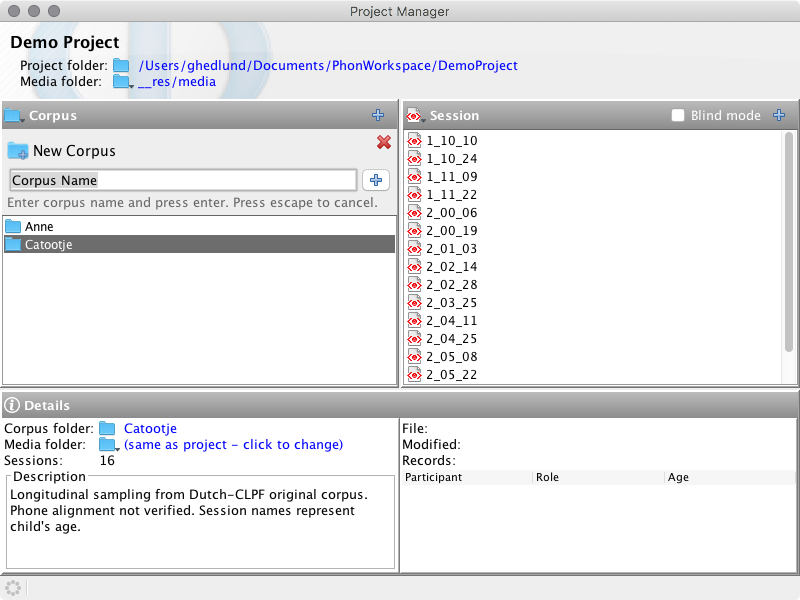
The following actions are availble from Project window menu and the corpus list contextual menu. You may access the corpus contextual menu by right-clicking (or CMD+click on macOS) inside the corpus list control or by clicking the Corpus title label in the Project Manager window.
New corpus
Rename corpus
Rename a corpus in your project.
-
Select Rename Corpus from the contextual menu.
The Rename Corpus window will appear. -
Follow the instructions in the Rename Corpus window. If you are unsure whether you want to rename your corpus, click Cancel. To continue and rename the corpus, click OK.
You will return to the Project Manager window and the corpus will be renamed accordingly.
Delete corpus
Delete a corpus in your project.
-
Select Delete Corpus from the contextual menu.
A dialog will appear asking you to confirm whether you would like to delete this corpus and informing you that this action cannot be undone. -
If you are unsure, click No. To continue and delete the corpus, click Yes.
The deleted corpus will no longer appear in the Project Manager window.
Duplicate corpus
Dupliate a corpus folder in your project.
-
Select Duplicate Corpus from the contextual menu.
The corpus folder will be duplicated with an integer suffix (e.g., '(1)') appended.
Open session template
Set default participants and tiers for all sessions to be created in a corpus.
-
Select Edit corpus template... from the contextual menu.
A Session Template window will appear for the selected corpus, showing the Session Information and Tier Management views. -
Edit options as you see fit. Close this window when you are finished making changes.
These settings will be applied to any sessions subsequently created within the corpus.Note:For further instructions on how to specify information in the Session Information and Tier Management views, consult Input Session Language, Participants, Assign media, Tier Management, and other related pages.